
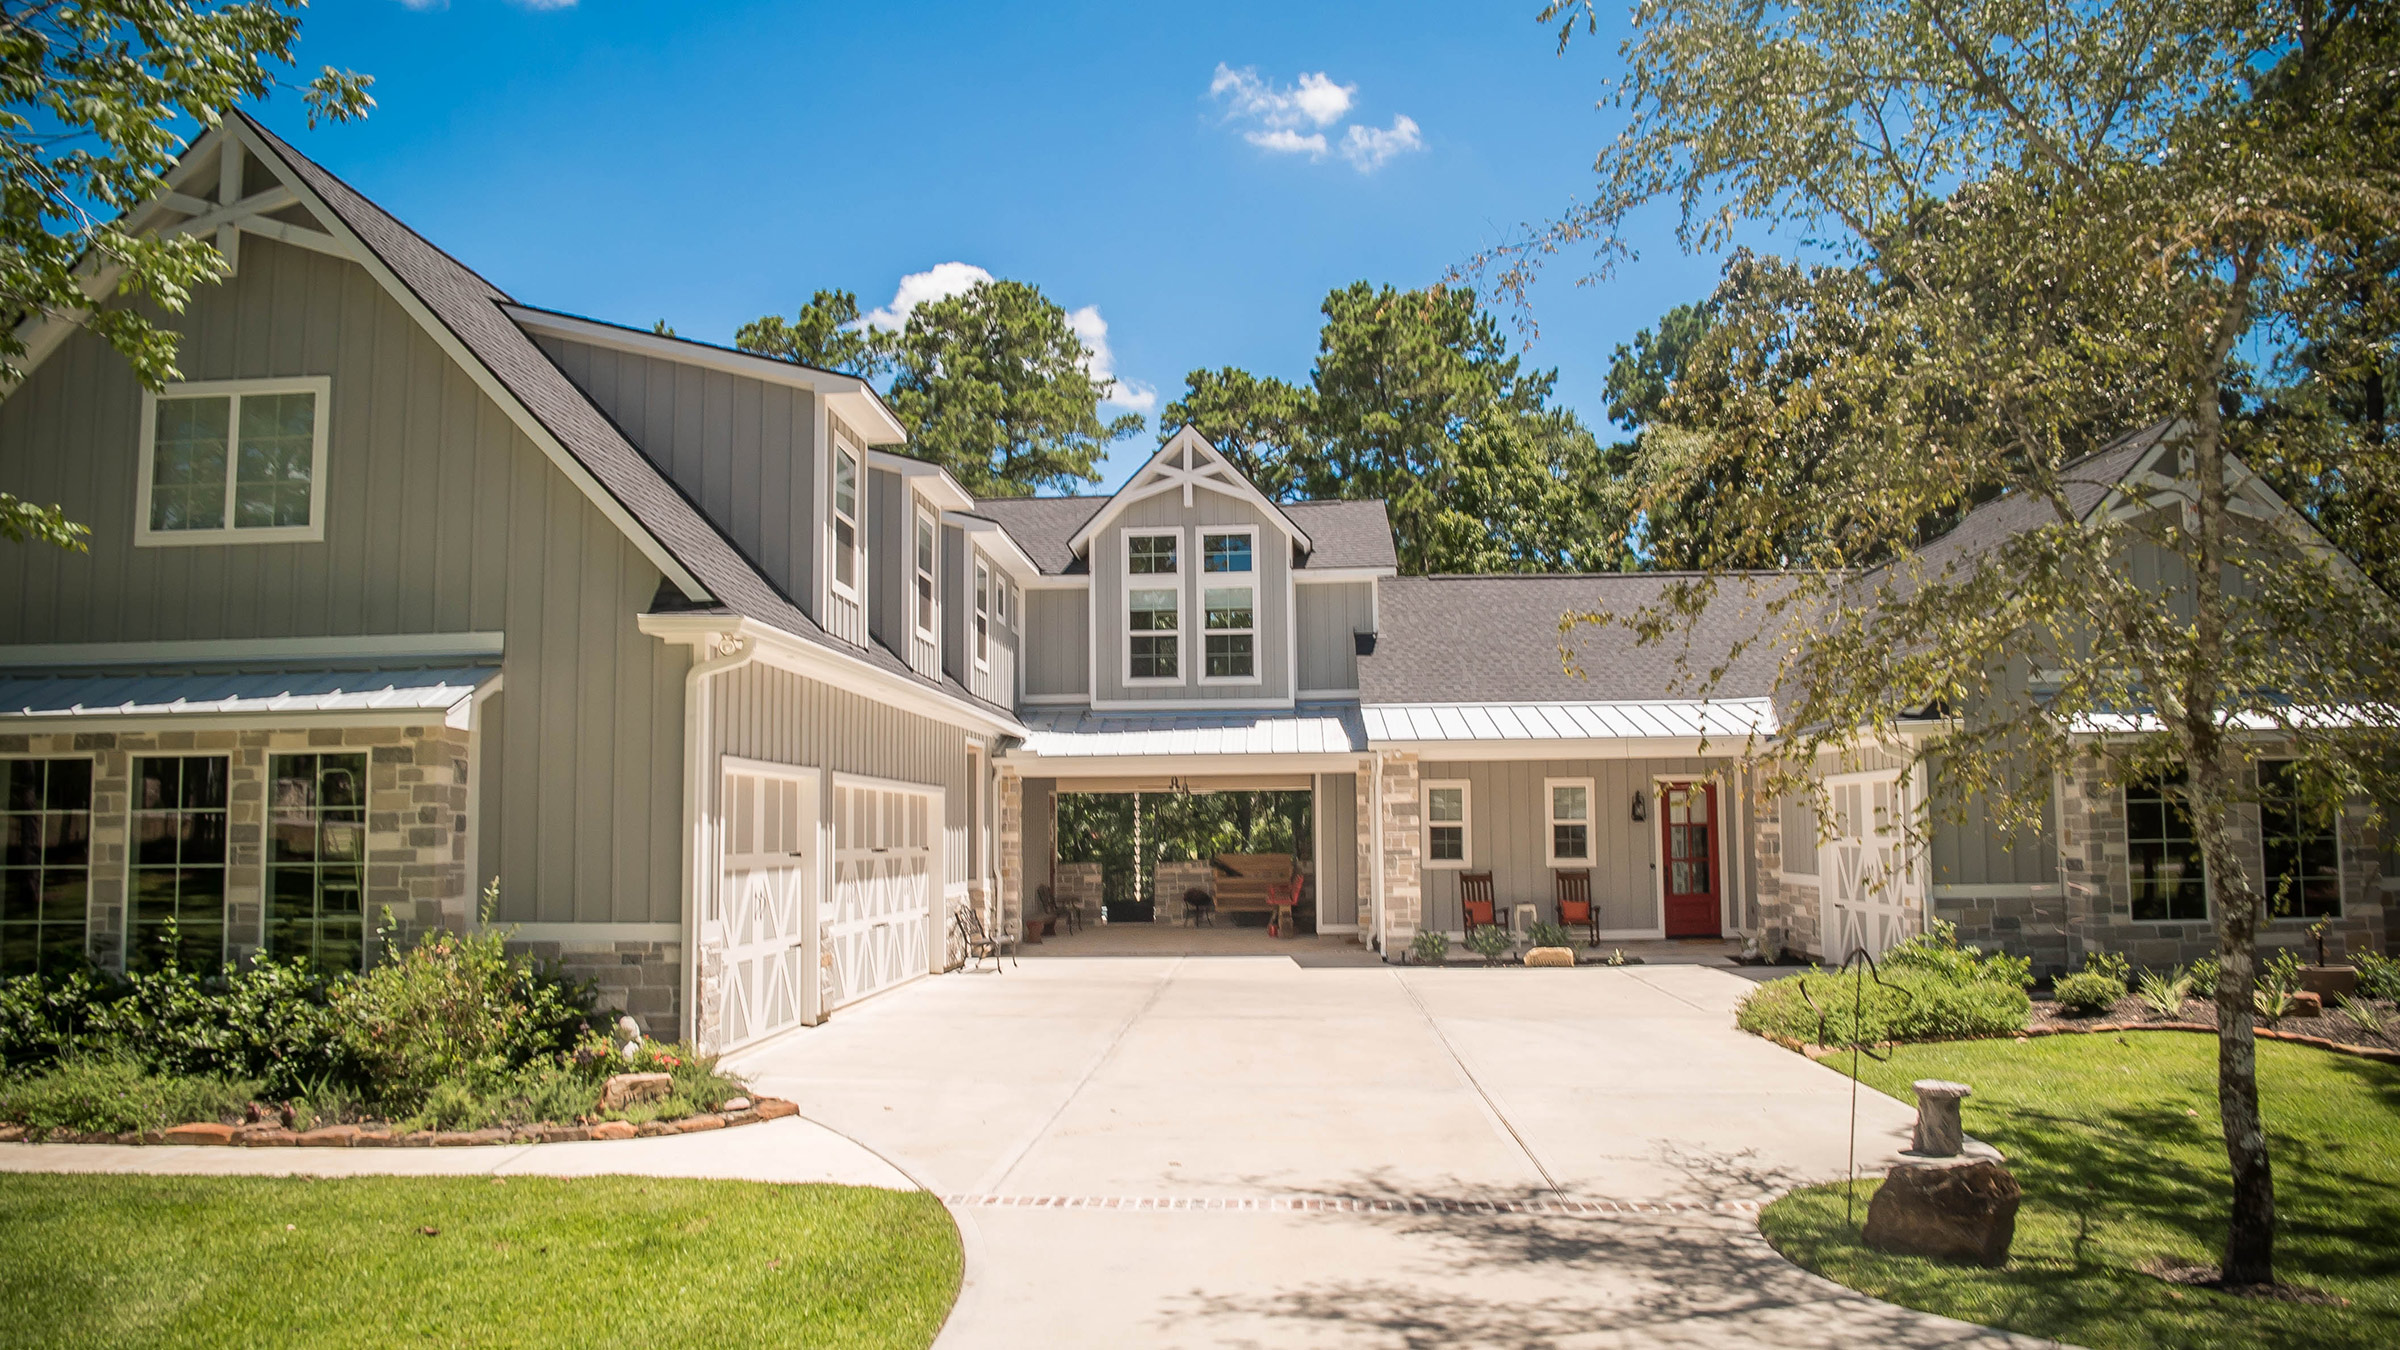
A Step by Step Guide to the Building Process
The building process and the numerous decisions to be made can be overwhelming for most people. To make the process easier, communication between you and me becomes vitally important. This guide aims to walk you through the building process phase by phase, in order to facilitate clear and organized meetings along the way. Our goal is NOT to inundate you with information, but to provide a structure to focus on the details of each phase without being engulfed by the entire project.
Our building process is broken down into six phases as follows:
(click to jump directly to a specific phase)
- Phase 1 | Permits, Engineering & ACC Review
- Phase 2 | Slab & Frame
- Phase 3 | Rough-in & Insulation
- Mid Construction Walk Through
- Phase 4 | Sheetrock, Trim, Site-built Cabinets, and Paint
- Phase 5 | Shop-built cabinets installation, Tile, Countertops, Shower & Bath Surrounds, and Lighting
- Phase 6 | Hardware installation, Flooring & Landscaping
Let the Building Begin
Although we will be in continuous communication during the building process, there will come a point where final decisions have to be made to keep the project moving forward. At each of these critical points, we will schedule one or more construction meetings, where we will meet to make decisions that are critical to that phase of construction. In other words, as you look at the outlines of each construction meeting, those are the decisions that will need to be made by that meeting. After a meeting has been completed, you must review the items needed for the upcoming meeting and begin making selections and decisions for those items. You may also refer to the Schedule for Product Selection sheet at the end of this document to help you keep up with the decisions needed.
Please feel free to contact us anytime if you have questions or concerns. It is our goal to build you the home you want, in a manner that you makes you feel comfortable along the way. Building a home is a fluid process and there are always items that require input from both the builder and the home owner. Each house is different and each has its own set of circumstances that make it unique. Evermon Homes brings a wealth of experience and knowledge that will help guide you through the process. We look forward to the next few months and are excited that you have given us the opportunity to build not only your home, but to build a relationship that will last long after the bricks are up and the paint is dry. That being said let the building begin!
Phase 1 | Permits, Engineering, & ACC Review
Prior to starting any construction on the lot, we must first have approval from the Architectural Control Committee (ACC) of the subdivision. Typically, we are not allowed to begin land clearing and dirt work prior to ACC approval. However, in some subdivisions, land clearing can begin, and culverts may be placed.
Along with ACC approval, other documentation must be obtained prior to construction. These items are:
- Building and Septic permits from the county
- Water Meter Tap fee must be paid, unless using a water well.
- Septic Design must be complete
- Plot plan must be drawn
- Land owner must sign off on county permit application provided by Evermon Homes, LLC.
- Engineered Foundation Plans
- Completed floor plan is required
- Exterior veneer material types must be finalized, since the foundation drawings must include brick ledges for brick and natural stone.
- Soil Analysis must be completed to determine the quality of the soil so that the foundation can be properly engineered.
- Survey of the Lot
- A survey must be done in order to know all the existing easements and setback lines for the property
- Color selections for exterior materials to be used on the house
- Roof color
- Exterior Paint color(s)
- Stone and/or Brick selections
- Driveway material
CHECKPOINT #1
In addition to ACC items, you will need to meet with our design consultant, Lindsey, to review your ideas, work on appliance selections, and begin preliminary layouts for all shop built cabinetry. The early phases of your project will probably seem to go by slowly, since not a lot will be happening at the construction site.
Typically, we like to use this time to plan for the upcoming construction phase and to start to get a better feel for your needs and desires for your home. These checkpoint meetings are really more of informational sessions where you tell us the things you want us to know. It helps if you bring any pictures, samples, or sketches of your ideas so that we can get an accurate picture of your design aesthetic. We will also set up times to make some preliminary visits to showrooms so that you have plenty of time to see everything you’d like to see before it is time to make a final decision.
Phase 2 | Slab & Frame
CHECKPOINT #2
We will need to meet prior to setting the forms for the foundation, so that we can review all the details for this phase. The following decisions need to be made before the foundation is poured:
- Site Preparation
- House location on lot
- Clearing
- Compacted site pad specifications
- Slab
- Review engineered foundation plan requirements for any additional costs due to changes specified by the engineer. From time to time, due to soil conditions or technical features in your house design, the engineers may specify conditions in the slab design that deviate from standard practices, which may affect the cost of the slab. Additional rebar or the depth and width of the beams are examples of such changes.
- Verify exterior veneer material (ie. Brick, natural stone, cultured stone, siding)
- Electrical in slab (i.e. floor plugs)
- Garage door sizes
- Wheel stop in garage
- Dropped showers or tubs
- Location of utilities (AC, water heater, septic system, gas meter, electric meter, water meter and valve)
- Frame
- Window type selections (i.e. aluminum, vinyl, or wood). Each type has a different dimension needed for framing and must be chosen prior to the beginning of framing.
- Exterior door selections — door sizes must be decided so that door frames can be ordered accurately
- Review interior door sizes and swings, pocket door locations, arched opening or cased opening heights
- Front door — we will also need a decision on the type of jamb you need for your front door (i.e. paint vs. stain, square vs. arch, etc.)
- Fireplace selection. (i.e. gas or wood burning and size, 42” is standard)
- HVAC return air vent locations
- Master tub style and faucet location
- Initial cabinet design (i.e. height of cabinets for blocking)
- Roof
- Final selection on roof material and color
Phase 3 | Rough-in & Insulation
CHECKPOINT #3
Once the frame is complete, the plumbing, mechanical (HVAC), and electrical rough-ins will follow successively. Afterwards, central vacuum systems and low voltage (phones, fire detectors, security system, intercom systems and sound systems) must be roughed-in as well. Once all rough-ins are complete, insulation will be installed. The following decisions need to be made before the rough-ins can be completed:
- Plumbing
- Verify locations of plumbing items
- Note any items that may need to be relocated due to framing
- Verify heights of shower heads and/or body sprayers
- Finalize type of fixtures used so that pipes can be configured correctly
- Finalize plumbing trim selections for showers and tubs so that the correct valves can be placed in the wall
- Mechanical (HVAC) and Vacuum systems
- Verify thermostat locations
- Vacuum system locations (i.e. hose attachments and kick plates)
- Verify return air locations
- Electrical
- Verify locations of electrical items
- Note any items that may need to be relocated due to framing
- Note any non-plan items that need their own power supply
- Additional lights or special lighting needs that may require different wiring
- Special plug needs
- Low-Voltage
- Verify locations (i.e. phone and cable jacks, alarm keypads, audio speakers, intercom outlets).
- Fire alarm sensors locations will be set according to code, but a decision on monitoring must be made at this time.
- Shop-built Cabinetry and Appliances
- Complete cabinetry layouts and order before the sheetrock phase begins
- Make final appliance selections for accurate cabinet cut-outs
- Additional interior wall insulation
- Consider insulating interior walls for sound barrier
- Exterior veneer materials
- Finalize selection
- Review design options (ie. Mortar color, mortar joint size, brick pattern, stucco texture, etc.)
Mid-construction Walk-through
Upon completion of the insulation, we will walk the house in order to address any questions before we start the sheetrock. At this time, we will go over the inspection reports with you so that you are comfortable with any issues that may have been indicated on the inspection report. Also, we will look at each individual plumbing or electrical location to verify that nothing needs to be moved. It’s much cheaper to move it now than after sheet rock!
The Selection Phases Begin
At this point, we are about halfway through the building process, and we start to move out of the construction phases and into the selection phases. For the most part, the main structural items are complete, and now we are addressing the finishing details that will turn your house into a home.
Although there will be an installation schedule, it doesn’t usually work out so that you can make all of your selections independently of one another based solely on this schedule. For example, we will complete painting before we need to install tile and countertops, but you will probably want to coordinate all of these items together. Lindsey will work closely with you to ensure that your selections are made in keeping not only with the installation schedule, but also with the overall look and feel that you desire for your home.
Due to the nature of the selections process, you will find that we have fewer checkpoint meetings, but rather several smaller meetings where we are discussing several different aspects of the design at one time, because they are all interrelated. The following phase layouts give you an outline of the installation schedule so that you will know when certain decisions must be finalized, and what to expect next.
Phase 4 | Sheetrock, Site-built Cabinets, Trim & Paint
CHECKPOINT #4
Before the sheetrock can be hung, we will meet at the house so that you can visualize what the inside of the house will look like and make decisions for trim and site-built cabinetry. While the sheetrock is being hung, you can make decisions regarding wall texture. Any rooms that get wallpaper must be designated at this time so we can leave them un-textured. After the sheetrock is hung, the carpenters will install all trim and site-built cabinetry, and we can put paint samples on the walls to finalize paint color.
- Pre-sheetrock selections
- Trim material selections and locations
- Crown moulding
- Baseboard
- Door and window casing
- Chair rail/wainscot
- Stair parts
- Faux beams
- Mantle types and designs
- Site-built cabinet design and wood species
- During sheetrock
- Texture options
- Preliminary wall treatment selections (ie. Paint, wallpaper)
- Preliminary tile and countertop selections
- Floor tile in main areas and bathrooms
- Backsplash in kitchen and bathrooms
- Bath tub and shower surrounds (ie. tile, cultured marble)
- Countertop materials (ie. Granite, tile, wood, solid surface, laminate)
- Carpet and wood flooring selections
- After sheetrock
- Trim materials installed
- Walk-through to finalize closet layouts
- Final paint color selections – we will do some paint samples on the walls after the texture stage has been completed.
- Painters typically start with the exterior paint, then move to interior staining and trim finishing, and finally the walls and ceilings are painted.
Phase 5 | Shop-built cabinets, Tile, Countertops, Shower & Bath Surrounds, and Lighting
CHECKPOINT #5
The latest these decisions can be made is just prior to the end of painting. At this time, we will be finalizing many of the finish items such as tile, countertops and plumbing fixtures. We will review tile designs for both flooring and wall tile and make final selections. As soon as the cabinets are installed, the countertop fabricators will template and install the countertops. Finally, after countertops are installed, tile backsplash will be installed.
- Shop-built cabinet installation
- Tile – floor and wall
- Make final tile selections for both field and accent tiles – lead times can run up to 2-3 weeks so it is important we decide this early on
- Review and finalize tile designs and layouts for installers
- Plumbing Fixtures
- Confirm fixture selections for vanities – this is necessary for the fabricators to drill hole patterns for the countertops
- Countertop selections
- Kitchen countertop selections need to be finalized such as color, edge type and backsplash type
- All other countertops must be finalized including material type and color, edge profile, and sink type (integrated, under-mount or drop-in)
- Alternate shower surrounds
- Any other tub or shower surround selections must be selected (i.e. Cultured marble or solid surface)
- Typically shower surrounds are done in tile unless otherwise specified
- Lighting – typically done in two meetings
- Meeting 1 – a lighting professional will guide you through selections in an effort to select the best fixture for your taste and budget
- Meeting 2 – after you make your selections, the lighting professionals will put together a bid that we will review. After we have reviewed the bid, we will either finalize those selections, or revisit to make any necessary changes.
Phase 6 | Fixtures, Hardware, Flooring, Landscape
CHECKPOINT #6
This is the final checkpoint that will take place just before the finishing touches will be installed. In this meeting, we will need to finalize the following items:
- Glass and mirror selections
- Glass for cabinetry
- Fixed mirrors
- Shower doors (framed or frameless)
- Threshold selections – samples of selection options are available at the office
- Hardware selection and installation
- Front door hardware
- All other door hardware
- Cabinet hardware by room – you will need to take into consideration the size of the area available to place drawer pulls before making a final selection
- Appliance installation
- The cook top and vent hood must be on site during granite installation, but the remainder of your appliances will be installed at this point
- Carpet & Wood flooring installation
- Wood floors are typically installed only after the HVAC has been turned on at the house
- Carpet will be one of the very last items to be installed
- Meet with landscape designer if doing more than just grass and mulched beds
Final Walk-through Meeting
Upon installation of all (or at least most) of the final touch items, this meeting allows us to generate a punch list for the entire home. At this time we will also review the final inspection report and the Energy Star report to include those items in the punch list. Upon creating this list, generally we require one week to get everything acceptable for “Substantial Completion.” This is when we agree that the house is ready for move-in, even if there are a few minor issues that should not be disregarded. Before going to the closing table, it is customary to visit the home again to verify that the punch list items have been resolved and the house has been cleaned.
Schedule for Product Selections
Prior to ACC approval
- Roof color
- Brick selection
- Stone selection
- Mortar selection (grey is typical, white is more expensive)
- Exterior paint selection – single color or two tone paint scheme
- Checkpoint 2
- Windows
- Exterior Doors (including front door jamb type)
- Fireplace
- Garage doors
- Kitchen cabinet layout design, wood species and door selections
- Master tub style and faucet location
- Checkpoint 3
- Appliances finalized
- Shop-built cabinets ordered
- Vacuum system selected
- Plumbing fixtures – most importantly the kitchen sink, bath tub and shower fixtures, and the master bath tub
- Checkpoint 4
- Trim profiles and locations
- Interior paint colors
- Carpet
- Wood flooring
- Preliminary tile selections
- Checkpoint 5
- Final tile selections with appropriate trim and accent tiles
- Cultured Marble colors and surface edge
- Kitchen countertop color and surface edge
- Plumbing trim selections for all vanity and kitchen faucets
- Lighting Fixtures
- Front Door
- Checkpoint 6
- Glass selections
- Threshold selections
- Hardware selections
- Appliance confirmation
- Carpet & Wood confirmation
- Meet with landscape designer if doing more than just grass and mulched beds
ACC Application Checklist
- ACC Application Form
- Copy of Deed Restrictions
- Construction Plans
- Survey
- Plot Plan
- Building and Septic Permits
- Water Tap Paid and Water Letter
- Soil Analysis
- Engineered Foundation
- Exterior Color Selections and Samples
- Roof
- Base Paint
- Trim Paint
- Brick
- Stone
- Mortar